License Server
The SpeechExec Enterprise License Server runs as a local service under the Windows ‘system’ account. It delivers licenses on demand to client applications as well as the licenses for the optional Enterprise modules.
Licenses are concurrent for the client applications Enterprise Dictate & Transcribe.
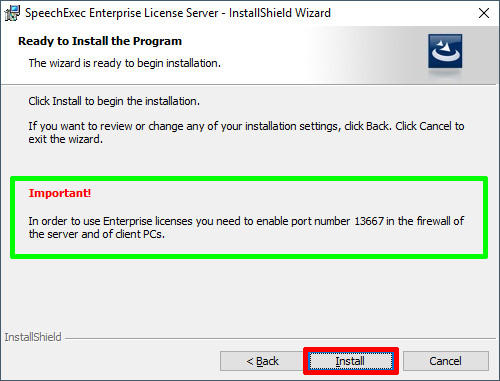
The License Server serves on TCP port 13667 therefore, if a firewall is active on the Server, you must open this port for access by the client applications.
Installation process
We recommend installing the Enterprise License Server on a Microsoft Windows Server as for client operating systems like Windows 10 the number of concurrent network connections is limited. Currently, the Enterprise modules are 32-bit applications and therefore run in 32-bit compatibility mode on supported 64-bit operating systems.
Warning
Do not rename the computer running the Enterprise License Server Service!
This will make your license file invalid!
To start the installation process open the folder Western/01_Foundation/02_Enterprise_License_Server
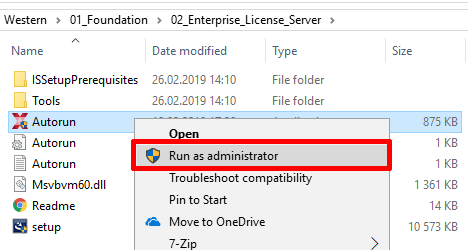
Select the executable Autorun.exe file to start the installation as administrator. Or right-click on the exe file and select Run as administrator.
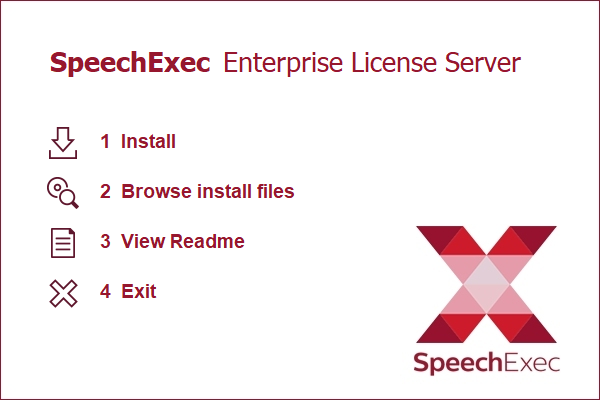
Click on Install.
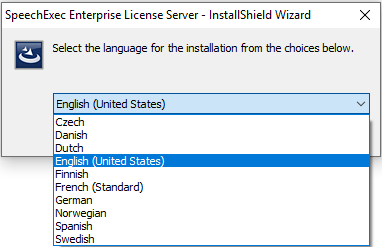
Select the installation language and confirm with OK. Available languages for installation are: Czech, Danish, Dutch, English, Finnish, French, German, Norwegian, Spanish and Swedish.
Continue the installation with a click on Next button
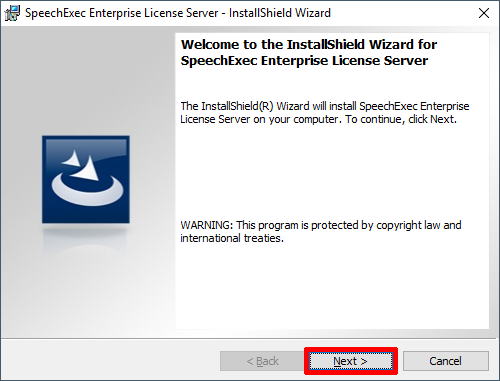
If .NET Framework installation is required click on Install to start the installation and follow the instructions on the screen. Please do not forget to restart the server after a .NET installation.
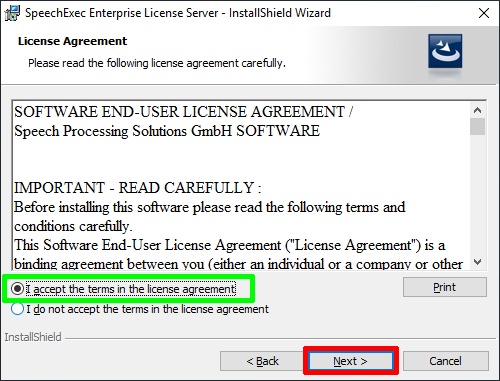
Select – I accept the terms in the license agreement and confirm it with a click on Next
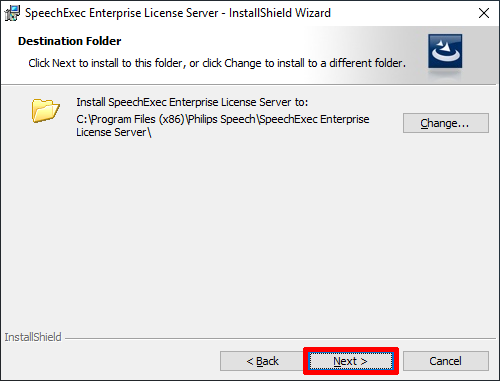
Click on Next to install the software in the predefined folder, or click on Change... to select a different folder for the installation.
Click on Install to begin the installation
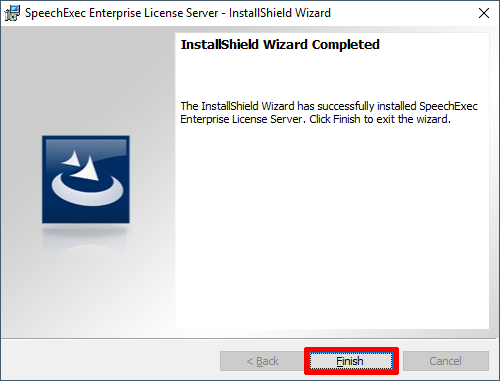
Click on Finish to complete the installation
Configuration process
Start the Philips SpeechExec Enterprise License Manager by starting Licenses.

Connect to License Server
If you have installed the License Manager on the same PC as the License server, you can use the localhost server address, otherwise use the IP or PC-Name when accessing a remote installation.
Server address: Here you are required to enter the IP address or Server name of the server where an Enterprise License Server is running.
Tip
Access to the License Server must be protected with a password. For a new installation there is no password set.
Connect to the server by entering the Server address and click on OK.

You are now connected to the License Server.

Change admin password
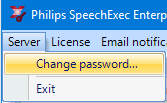
You can protect access to the License Server with a password, click on Server, select Change password
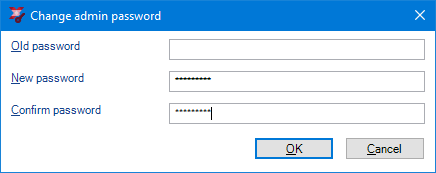
Create new password and confirm this. If this is a new, fresh installation, please leave the old password field empty, and only enter the new password into two fields new password and confirm password.
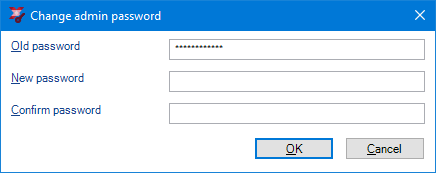
If you want to disable the password, fill the Old password and leave the New password and Confirm password Fields empty.
Use a demo license
In order to use a SpeechExec Enterprise demo license click on "License" and select "Generate demo license..."

Enter the 4-digit passcode provided by your retailer. If you are already a retailer, go to the Philips partner portal and request for a demo key. Confirm with OK

A demo license has been generated successfully.
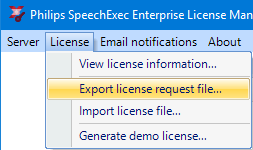
Exporting a license request file (*.seereq)
Click on License and select Export license request file.
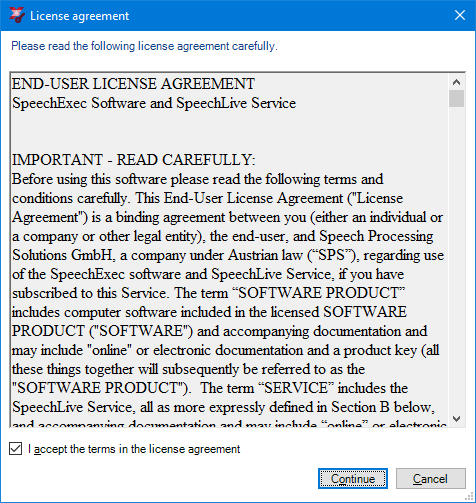
Accept the terms in the license and click Continue
Save the *.seereq file and send this to your regions order desk or Speech Processing Partner.

Importing the license file (*.seelic)
Click on License and select Import license file.

Select the Folder with license file (with file extension *.seelic), select right license for the server and click on Open

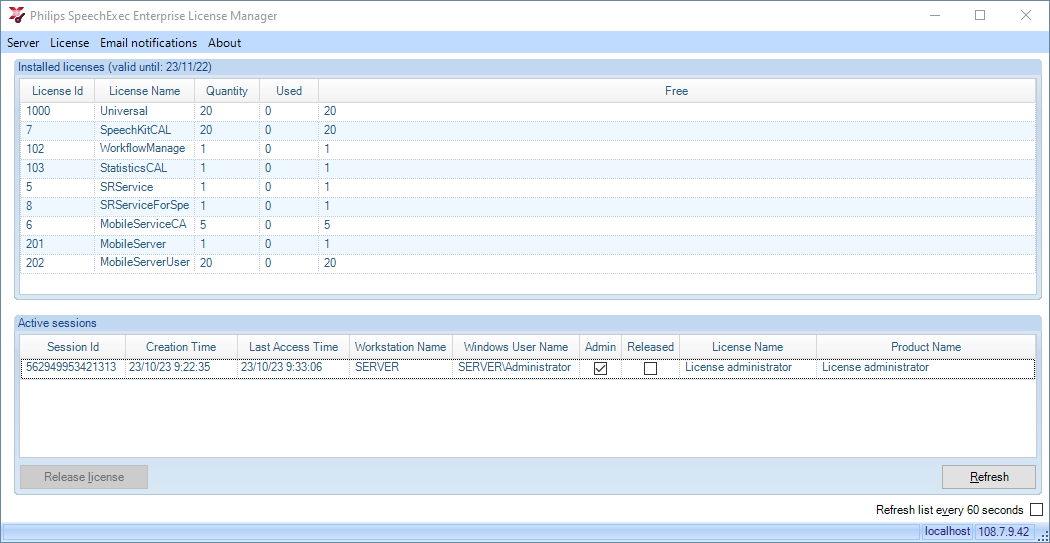
You can see all the installed and available licenses. In our example we have 20 Universal licenses for Dictation or Transcription.

To check more information about your license. Click on License and select View license information.
Email notifications
You can create a email notification for low license. SpeechExec Enterprise License Server will send an email notification to each recipient if the number of used licenses reaches the specified threshold. Each license type is monitored separately. Click on Email notifications, select Change email notifications

Activate license notification and also activate notification for the license expiration

If you use Workflow Manager or Mobile Server modules you can also activate Health scanner notification.
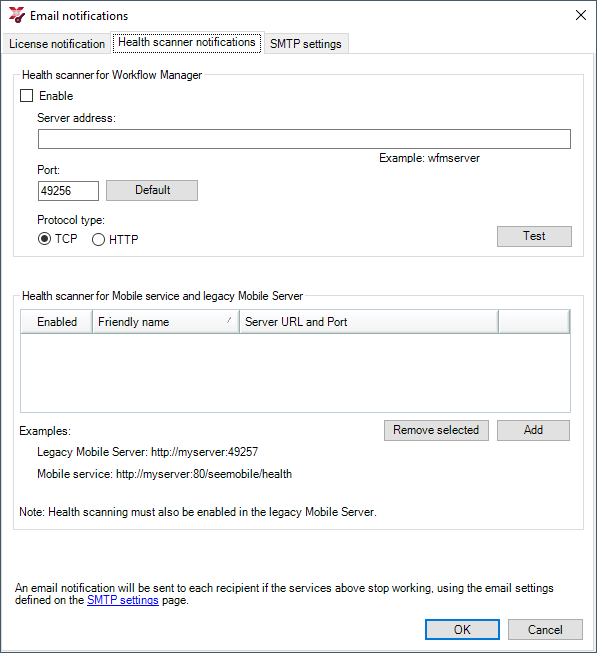
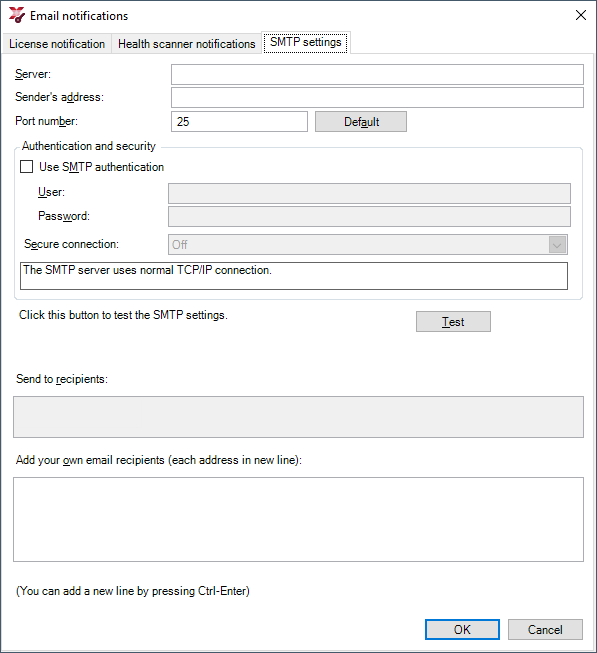
Create SMTP connection to the SMTP Server. Create a recipients list and setup the threshold for notification. With this step the basic configuration for license servers is completed